This website may contain affiliate links, which means I may receive a commission if you click on a link and make a purchase. While clicking on these links won't cost you any extra money, they will help me keep this site up and running. Your support is appreciated!

So you finally made the decision to upgrade your laptop with a shiny new SSD, huh? Good choice! Say goodbye to slow boot-up times and hello to lightning-fast performance. Installing an SSD may seem like a daunting task, but fear not, because we’ve got you covered. In this step-by-step guide, we’ll walk you through the process of installing an SSD in your laptop, so you can enjoy the benefits of a speedier, more responsive device in no time. Grab your screwdriver and let’s get started!
Table of Contents
- Gather Your Tools and SSD for the Upgrade
- Backup Your Data Before Diving In
- Safety First: Power Down and Ground Yourself
- Accessing Your Laptop’s Hard Drive Bay
- Out With the Old: Removing the Current Drive
- Aligning Your SSD to the Laptop’s Connector
- Securing the SSD in the Drive Bay
- Reassemble Your Laptop and Power On
- Installing Your Operating System on the New SSD
- Optimize Your SSD for Peak Performance
- Questions & Answers For How to Install an SSD in Your Laptop
- The Conclusion
Gather Your Tools and SSD for the Upgrade
To get started with Installing an SSD in your laptop, you’ll need to gather the necessary tools and the SSD itself.
Here’s a list of items you’ll need before getting started:
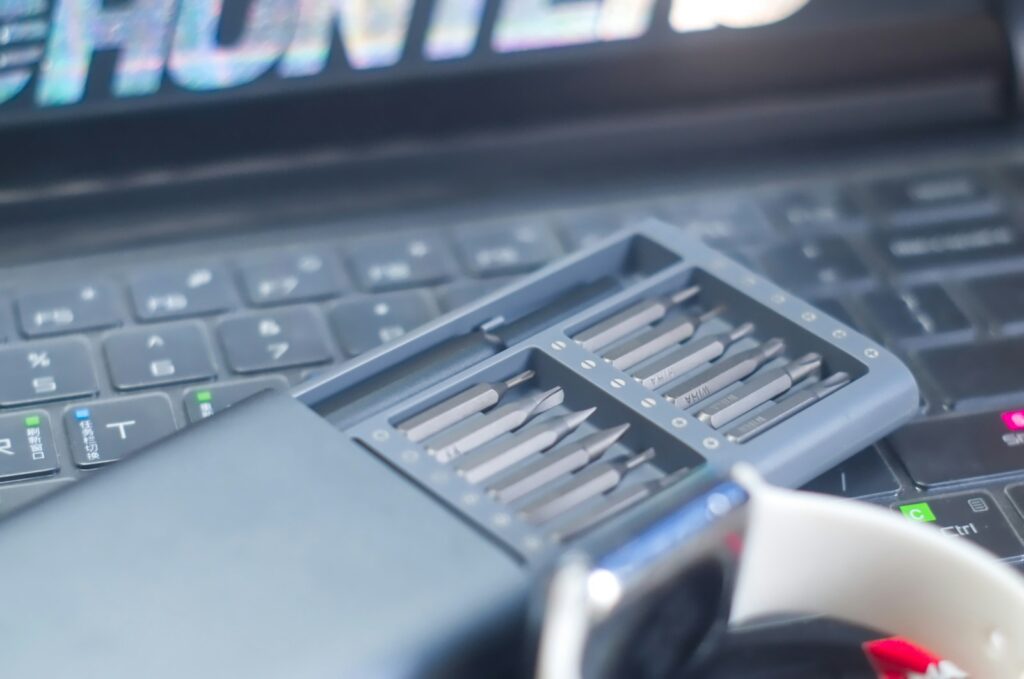
- Screwdriver set: You’ll need a small screwdriver set to open up your laptop and remove the existing hard drive.
- External hard drive enclosure: This will be used to transfer data from your old hard drive to the new SSD.
- Anti-static wrist strap: This will help protect your laptop’s internal components from static electricity while you’re working on it.
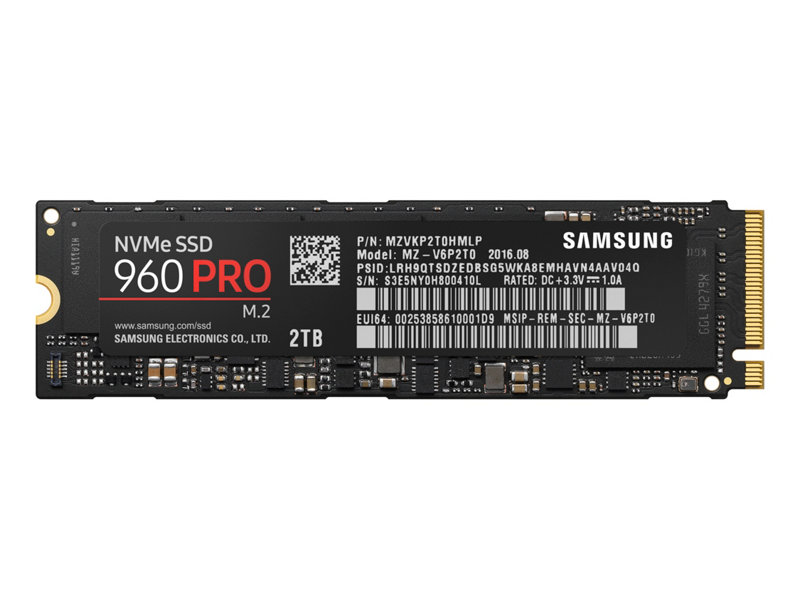
- SSD: Of course, you’ll need the SSD itself. Make sure to choose one that’s compatible with your laptop.
Once you’ve gathered all of your tools and the SSD, it’s time to get started with the actual upgrade process.
Backup Your Data Before Diving In

When it comes to upgrading your laptop with a new SSD, the first step is to ensure all your data is safely backed up. This is crucial, as the process of installing a new drive involves removing the old one, and there’s always a risk of data loss.
If you have important files, photos, or documents, it’s essential to create a backup to avoid any potential mishaps. Making a backup will give you peace of mind and ensure you can transfer your data seamlessly to the new SSD without any hiccups.
To backup your data, you have a few options to choose from.
- One of the most popular methods is to use an external hard drive. With an external hard drive, you can easily transfer your files and folders from your laptop to the drive, keeping them safe and secure.
- Another option is to use cloud storage services like Google Drive, Dropbox, or OneDrive. You can upload your files to the cloud and access them from anywhere, anytime.
Whichever method you choose, make sure to double-check that all your important data is backed up before proceeding with the SSD installation.
Safety First: Power Down and Ground Yourself
Before you begin the process of installing an SSD in your laptop, it’s crucial to prioritize safety. Powering down your laptop and grounding yourself will help protect both you and your device from potential harm. Follow these simple steps to ensure a safe and successful installation of your SSD:
- Power Down: Make sure to shut down your laptop properly before beginning any hardware installation. This will prevent any potential damage to the device and ensure a smooth installation process.
- Ground Yourself: Before handling any hardware components, it’s important to ground yourself to avoid any static discharge that could damage the SSD or your laptop. Use an anti-static wrist strap or touch a grounded metal object to discharge any static buildup.
By taking these precautions, you can minimize the risk of damage to your laptop and SSD, ensuring a safe and successful installation process.
| Recommendation | Reason |
|---|---|
| Samsung 970 EVO Plus | The Samsung 970 EVO Plus offers exceptional performance and reliability, making it an ideal choice for upgrading your laptop’s storage. |
Now that you’ve prioritized safety, it’s time to move on to the exciting part: installing an SSD in your laptop. Stay tuned for the next steps in our guide on How to Install an SSD in Your Laptop.
Accessing Your Laptop’s Hard Drive Bay

To install an SSD in your laptop, the first step is accessing your laptop hard drive bay. Most laptops have a dedicated compartment for the hard drive, making it relatively easy to access and replace. Follow the steps below to access your laptop’s hard drive bay:
1. Shut down your laptop and disconnect all cables and power sources.
2. Turn the laptop over and look for the hard drive bay cover. This is usually a small panel secured by screws.
3. Use a screwdriver to remove the screws and carefully lift off the cover to reveal the hard drive bay.
Now that you’ve accessed the hard drive bay, you can proceed with installing the SSD. Before doing so, make sure to ground yourself to discharge any static electricity and prevent damage to the SSD. Keep in mind that the specific steps for installing the SSD may vary depending on your laptop model, so it’s always a good idea to refer to the manufacturer’s instructions.
Once you’ve successfully installed the SSD, you can enjoy improved performance and faster boot times on your laptop.
Here is a simple table to compare different SSD brands and models
| Brand | Model | Storage Capacity | Price |
|---|---|---|---|
| Samsung | 860 EVO | 500GB | $99.99 |
| Kingston | A400 | 240GB | $39.99 |
| Crucial | MX500 | 1TB | $89.99 |
Out With the Old: Removing the Current Drive
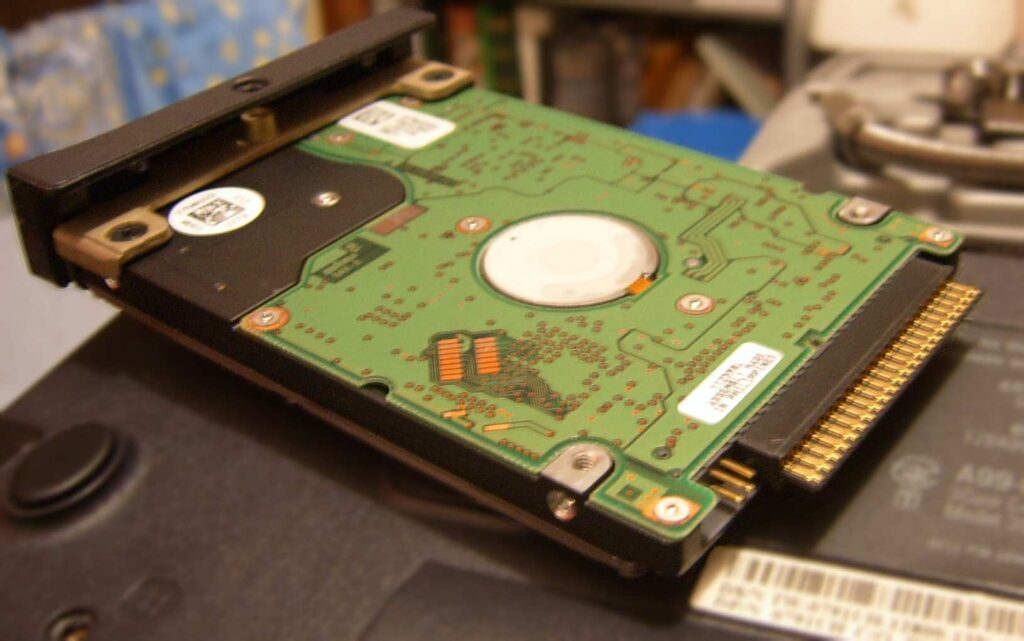
Once you’ve backed up all your important data and accessed your laptop hard drive bay, it’s time to remove the current drive from your laptop.
Here’s how to do it:
- Shut down your laptop and unplug it from any power sources.
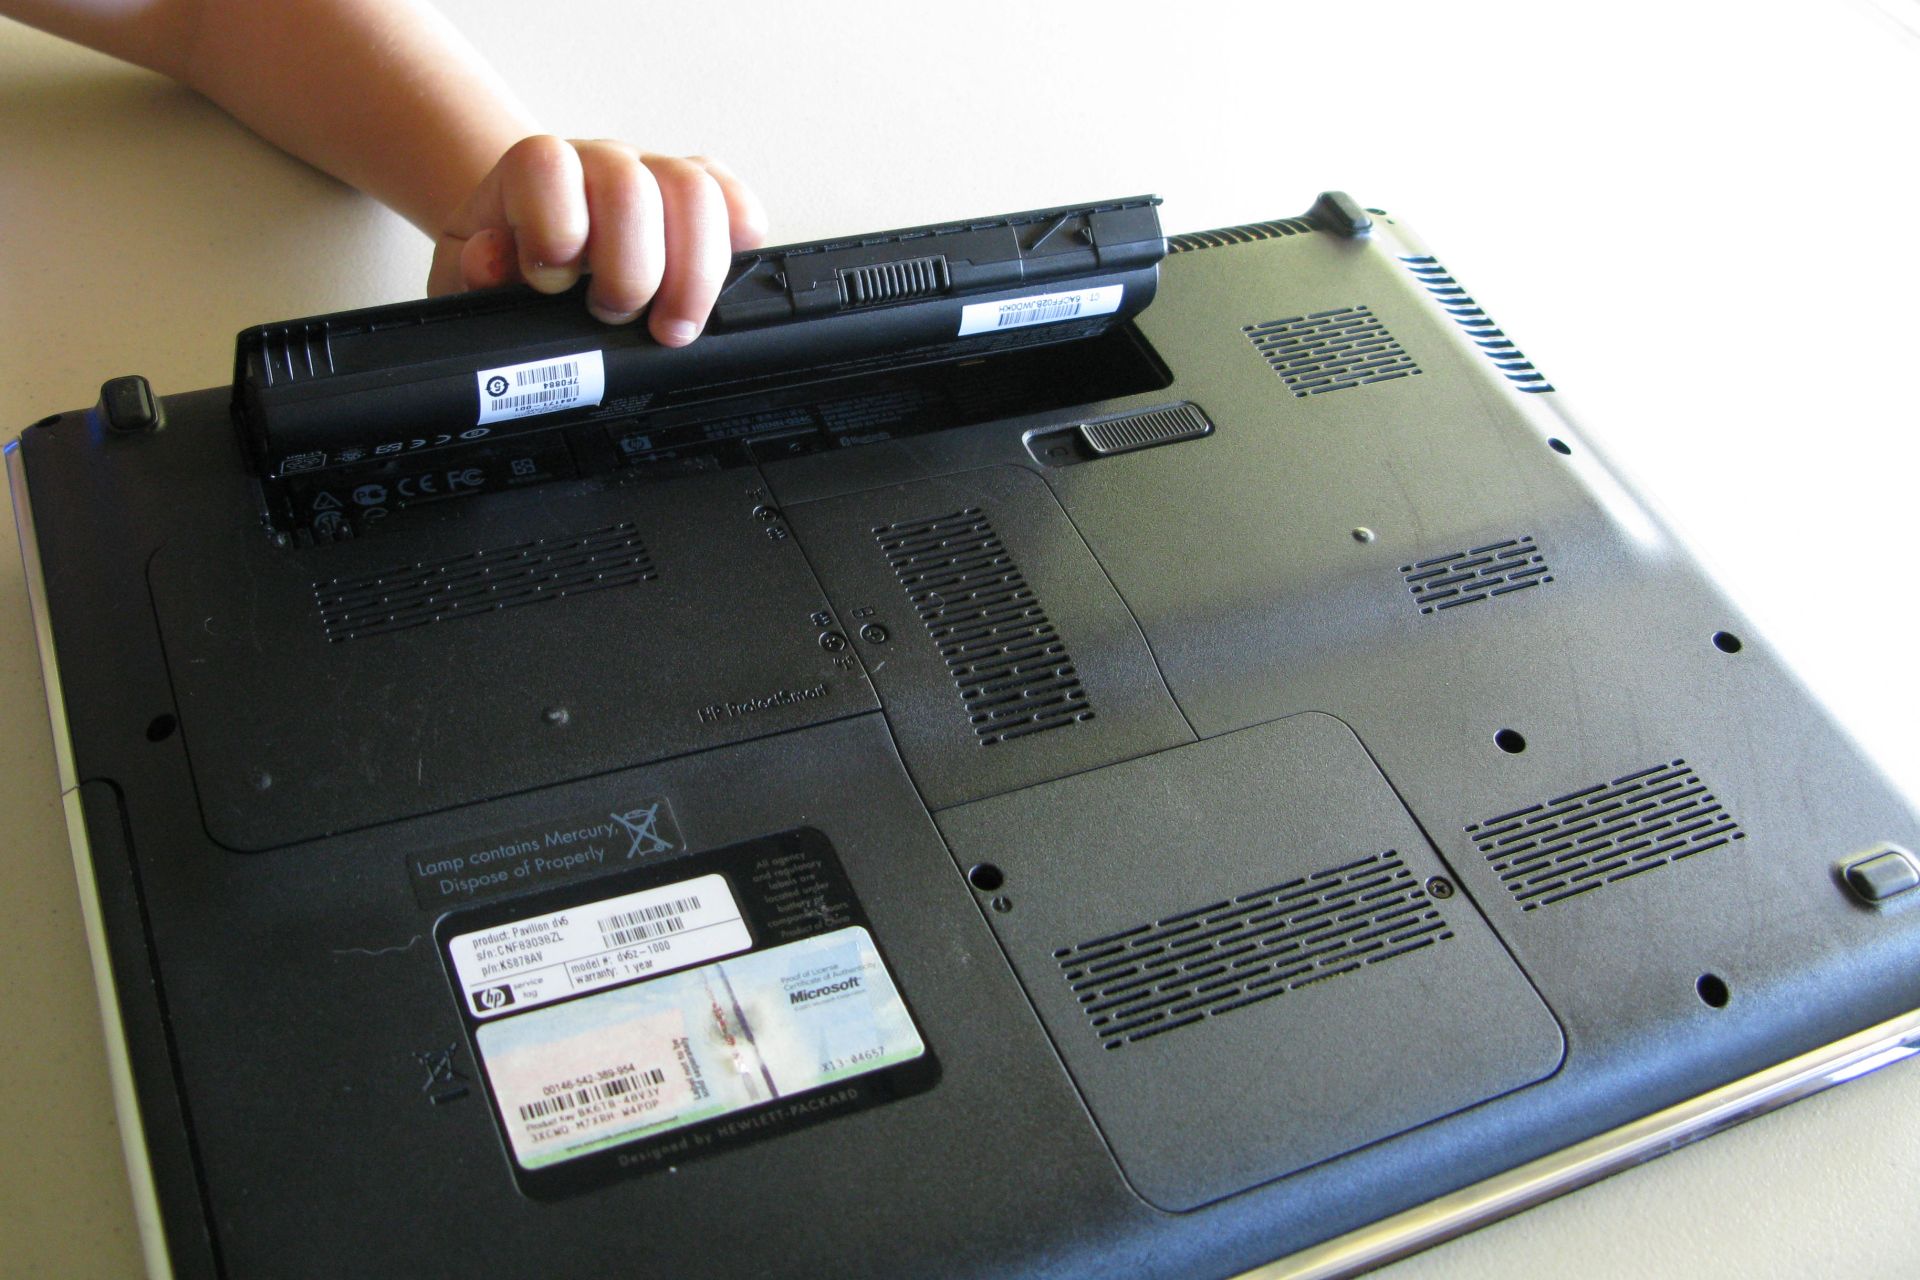
- Flip the laptop over and locate the access panel for the drive (refer to your laptop’s manual if you’re not sure where it is).
- Use a screwdriver to remove the screws holding the panel in place. Set them aside in a safe place.
- Carefully slide the current drive out of its slot and disconnect it from the laptop. Keep track of any screws or brackets that may be attached to the drive.
Removing the current drive can be a bit nerve-wracking, but with a steady hand and a little patience, you’ll have it out in no time!
Once you’ve successfully removed the old drive, it’s time to prep the SSD for installation.
Here’s briefly what you need to do (more details to follow):
- Take the SSD out of its packaging and inspect it for any damage.
- If your SSD came with a mounting bracket, attach it to the SSD using the provided screws.
- Carefully slide the SSD into the slot where the old drive used to be, making sure it’s positioned correctly.
- Secure the SSD in place with the screws or brackets you removed from the old drive.
Installing an SSD in your laptop is a relatively simple process, but if you run into any issues, don’t hesitate to reach out to the manufacturer for support. With the old drive removed and the new SSD installed, your laptop is now ready for a speed boost!
Aligning Your SSD to the Laptop’s Connector
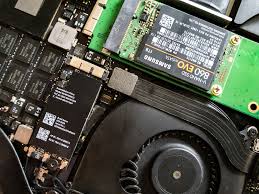
When installing a new SSD in your laptop, it’s crucial to ensure that it is properly aligned with the laptop’s connector to avoid any potential hardware or performance issues. The alignment process is essential for a secure and stable connection between the SSD and the laptop, which is vital for smooth operation and optimal performance.
To align your SSD to the laptop’s connector, follow these simple steps:
- keep your laptop powered off after removing the old hard drive.
- Locate the connector for the SSD and carefully align the SSD with the connector, ensuring that the pins on the SSD match the corresponding slots on the connector.
- Gently press the SSD into place, making sure it is firmly seated in the connector.
Proper alignment of the SSD to the laptop’s connector is crucial for the overall performance and longevity of your laptop. A misaligned SSD can cause hardware issues and impact the performance of your laptop, so it’s important to take the time to ensure everything is positioned correctly.
Securing the SSD in the Drive Bay
Installing an SSD in your laptop can greatly improve its performance and speed up your system. One important step in the installation process is securing the SSD in the drive bay.
Here’s how to do it:
1. Prepare the drive bay: Before securing the SSD, make sure the drive bay is clean and free of any dust or debris. This will ensure a proper connection and alignment once the SSD is installed.
2. Align the SSD: Carefully position the SSD in the drive bay, ensuring that the screw holes on the SSD line up with those on the drive bay. This will ensure a secure fit and prevent any movement or dislodging of the SSD once it’s in place.
3. Secure the SSD: Once the SSD is aligned, use the appropriate screws to secure it in the drive bay. Tighten the screws to ensure the SSD is firmly in place, but be careful not to overtighten as this could damage the SSD or the drive bay.
Following these steps will ensure that your SSD is securely installed in the drive bay, ready to boost your laptop’s performance and improve your overall computing experience. Remember to handle the SSD with care and to take your time during the installation process to avoid any damage to the SSD or your laptop.
For more easy-to-understand, in-depth information on installing an SSD in your laptop, we recommend checking out the comprehensive guide from Crucial. Their step-by-step instructions and detailed illustrations make the installation process accessible and straightforward for all users.
Reassemble Your Laptop and Power On
After successfully installing your new SSD into your laptop, it’s time to reassemble the device and power it on.
Follow these step-by-step instructions to ensure everything comes back together properly, and your laptop is ready to go.
Reassembly Steps:
1. Replace the Cover: Position the cover back onto the bottom of the laptop and secure it with the appropriate screws.
2. Reattach the Battery: If you removed the battery during the installation process, reattach it to the laptop.
3. Power On: Power on your laptop and make sure the SSD is recognized in the system BIOS. If it is recognized, you’re all set!
For a recommended guide on how to install an SSD in your laptop that goes into even more detail, we suggest checking out the comprehensive instructions provided by the experts at Crucial.
| SSD Model | Installation Guide Link |
|---|---|
| Crucial | Crucial Installation guide |
By following these steps, you’ll have your laptop reassembled and powered on in no time, ready to experience the benefits of your newly installed SSD.
Installing Your Operating System on the New SSD
Now that you have successfully installed your new SSD in your laptop, it’s time to transfer your operating system onto the new drive. Follow these simple steps to get your laptop up and running with your new SSD.
1. Prepare your installation media: Before you begin, you will need to have a USB drive with your operating system installation files. If you don’t have one, you can create a bootable USB drive using tools like Rufus or the Windows Media Creation Tool.
2. Boot from the USB drive: Insert your USB drive into your laptop and restart your computer. You will need to access the BIOS/UEFI settings to change the boot order so that your computer boots from the USB drive. Once you have done this, save your changes and exit the BIOS/UEFI settings.
3. Install your operating system: Follow the on-screen instructions to install your operating system onto your new SSD. Make sure to select the new SSD as the destination for the installation. Once the installation is complete, your laptop will restart and you’ll be ready to use your new SSD.
By following these simple steps, you can easily transfer your operating system onto your new SSD and start enjoying the improved performance and speed that it offers. Remember to back up any important files before you begin the installation process. If you need any additional help, you can always reach out to the customer support team of the SSD manufacturer for assistance.
| Product Recommendation | Reason |
|---|---|
| Samsung 860 EVO SSD | The Samsung 860 EVO SSD is a top-rated SSD with fast read/write speeds and reliable performance, making it an excellent choice for upgrading your laptop. |
Optimize Your SSD for Peak Performance

So now that you’ve upgraded your laptop with a shiny new SSD, you’re wondering how to optimize it for peak performance. Look no further, because we’ve got you covered with some expert tips on getting the most out of your SSD.
First things first, make sure to enable TRIM support on your SSD. TRIM helps your SSD maintain speed and performance by clearing out unused data blocks. Most modern operating systems, including Windows and macOS, have built-in support for TRIM, so all you need to do is ensure that it’s enabled.
Another important step in optimizing your SSD is to disable disk defragmentation. Unlike traditional hard drives, SSDs don’t benefit from defragmentation and it can actually reduce the lifespan of your SSD. Thankfully, most operating systems automatically recognize SSDs and disable defragmentation by default, but it’s always a good idea to double-check.
Questions & Answers For How to Install an SSD in Your Laptop
Can I install an SSD in my laptop?
Absolutely! Upgrading to an SSD in your laptop can significantly improve its performance and speed.
What tools do I need to install an SSD in my laptop?
You’ll likely need a screwdriver, and possibly a pry tool, to open up your laptop and properly install the SSD.
Do I need to back up my data before installing an SSD?
It’s always a good idea to back up your data before making any major hardware changes to your laptop, just in case.
How do I know if my laptop is compatible with an SSD?
Most modern laptops are compatible with SSDs, but it’s always best to double-check with your laptop’s manufacturer or consult your laptop’s manual.
Do I need to install any additional software for the SSD to work?
In most cases, your laptop’s operating system will automatically detect and recognize the new SSD once it’s installed.
What size SSD should I get for my laptop?
The size of SSD you need will depend on your usage and storage needs. Consider getting at least the same size as your current hard drive, or larger if you can afford it.
Will installing an SSD void my laptop’s warranty?
In most cases, upgrading your laptop’s storage to an SSD will not void your warranty. However, it’s always best to check with your laptop’s manufacturer to be sure.
How difficult is it to physically install an SSD in a laptop?
The difficulty of installing an SSD in a laptop can vary depending on the specific make and model of your laptop, but with the right tools and instructions, it’s definitely doable for most tech-savvy individuals.
Can I transfer my operating system and files from my old hard drive to the new SSD?
Yes, you can transfer your operating system and files from your old hard drive to the new SSD using cloning software.
Will installing an SSD make my laptop significantly faster?
Absolutely! Upgrading to an SSD can breathe new life into your laptop, significantly improving boot times, application launch speeds, and overall system responsiveness.
The Conclusion
So there you have it! Installing an SSD in your laptop is not as daunting as it may seem. With the right tools and know-how, you can breathe new life into your old laptop and experience faster boot-up times and improved overall speed and performance. Don’t be afraid to give it a try and reap the benefits of a snappier, more efficient machine. Happy upgrading!
For more great information about upgrading your laptop or even how to choose good laptops, please continue checking out our site.